

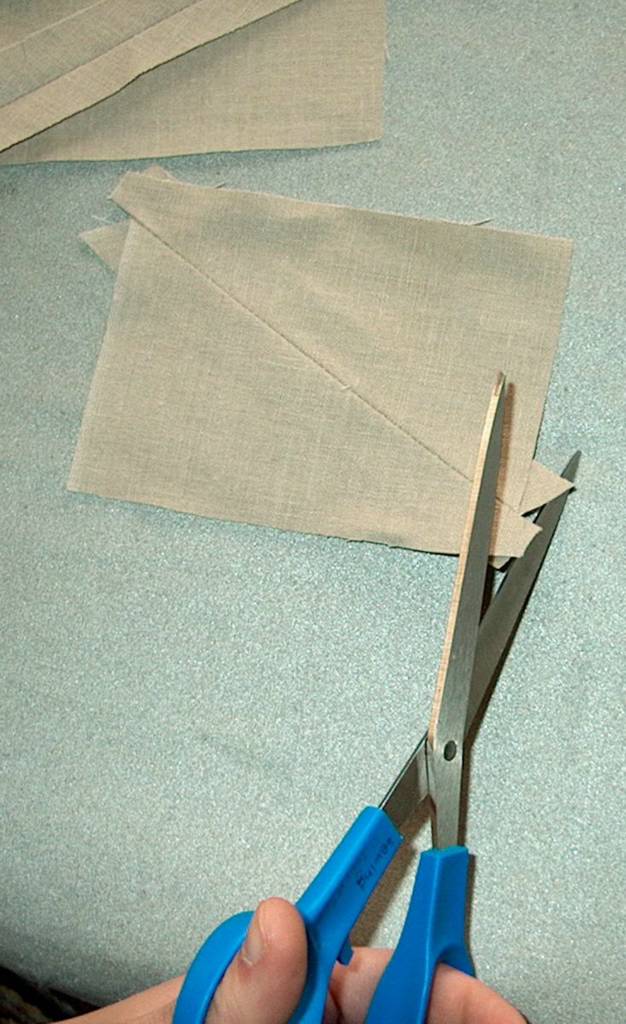
This page illustrates how to make what I call my "Arrow Purse." I made it with a tan linen fabric I had leftover from a skirt I made a few years ago. This purse would sew well in a wide variety of fabrics, but it would be best to choose one without a directional pattern. And, one with out a "wrong side" would be easiest to work with when cutting out the pieces and sewing them. I used the same fabric for the lining but found it a bit bulky... if I was to make the purse another time I would use a more light-weight fabric for the lining.
If you have any questions on this project, please email me at dialog[at]briercrest[dott]com .
For more of my projects, please visit Michelle's Art and Crafts.
Arrow Purse
Sunday, May 16, 2004
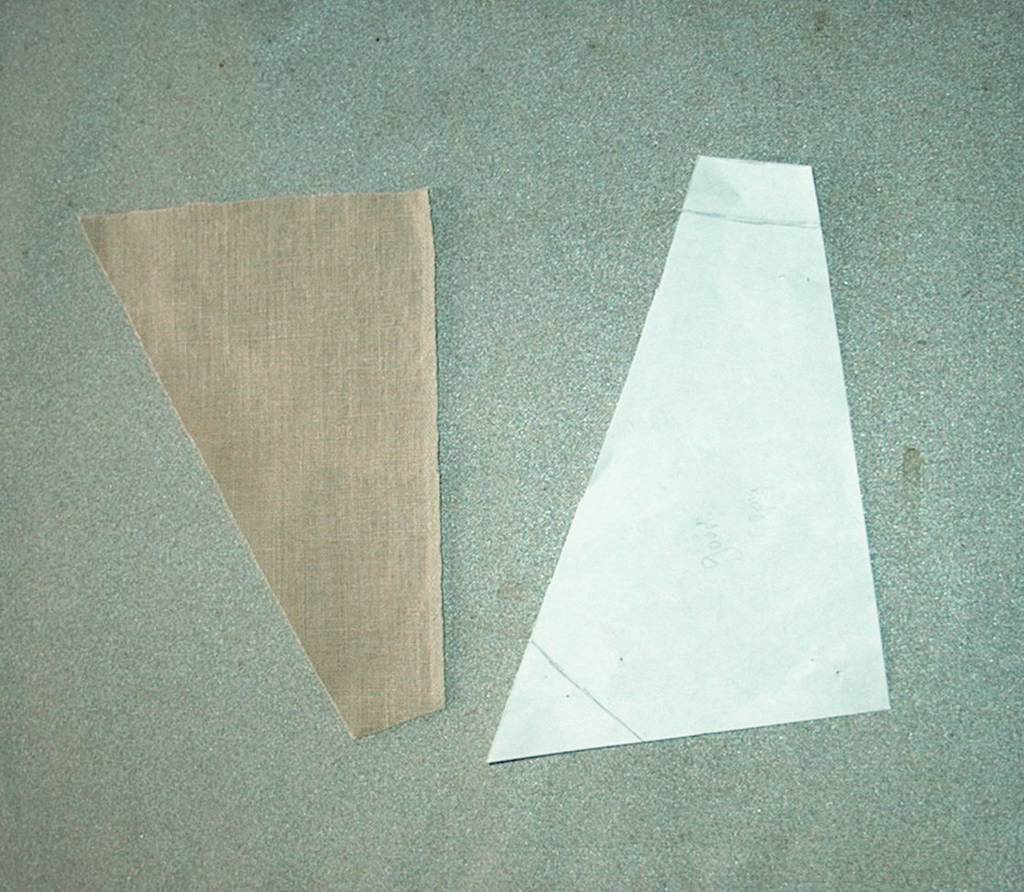
This is what the pieces looked like before any of them were sewn together. For a complete purse, you need to cut out 30 pieces.

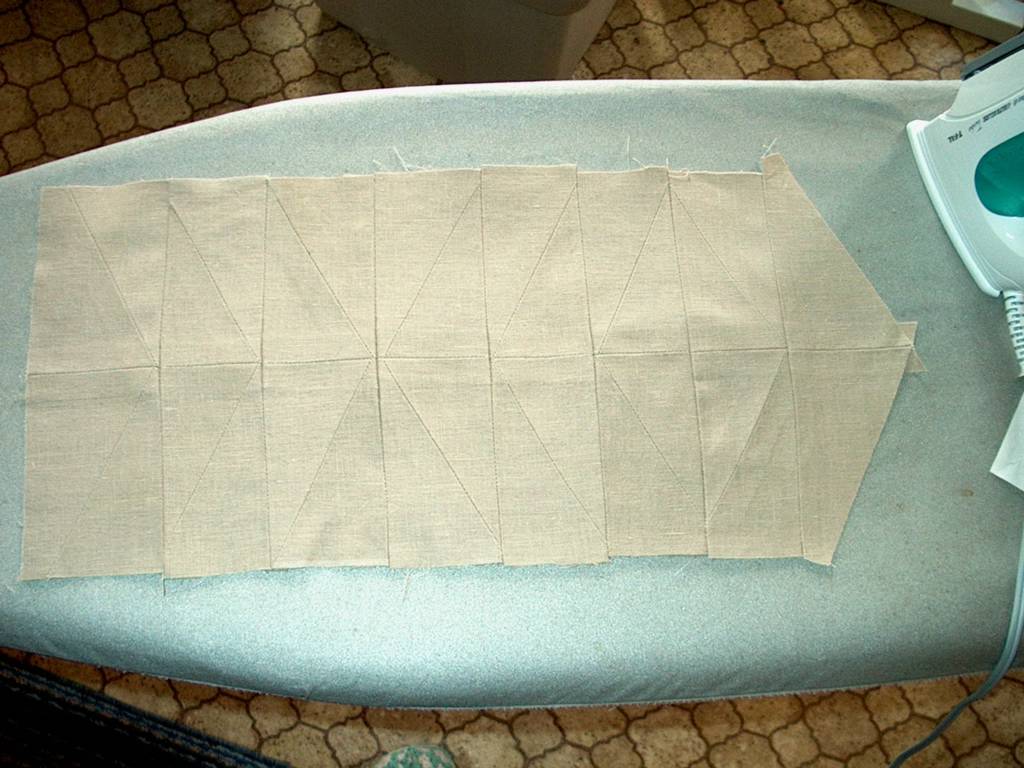
I sewed the blocks together in an assembly-line fashion to save time. I did not clip the thread in between blocks until after I was finished sewing seven blocks.

Lining pieces up for sewing. You will need to sew seven blocks like this, and seven of the opposite direction (an opposite direction block would have the bottom left edge on top instead of on the bottom. Does that make sense? I hope so!)


When connecting two blocks together it was important to make sure the seams lined up properly. To ensure this, I pinned through the seam twice. The blocks on the left are incorrectly pinned because the pink headed pin only went through the seam once. If you do it this way, you'll have to rip out alot of seams that aren't lined up!

Left to right showing the ironing process... step one press right side, step two flip over, step three press seam open.

This shot shows pieces pinned together before sewing. I was careful to pin through the middle seams so that in the end product the centre seams would be perfectly lined up.

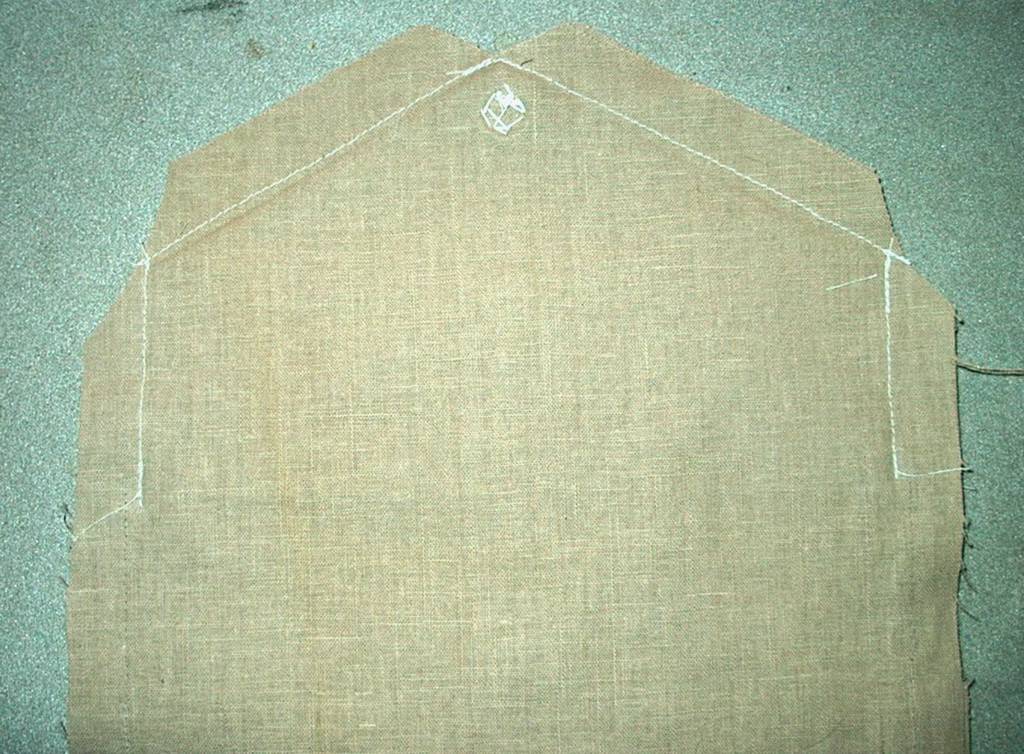
In the process of assembling all the blocks. This was before I decided to change the flap design. Originally I had planned it to have a straight edge instead of the pointy edge.

The completed sections for the front and back, one shown with the right side up and one shown with the wrong side up. These were then sewn together, and then the flap was sewn on the one end as well.
The completed "right side" of the purse before it was sewn to it's lining. Only the flap (the section and a half on the right side) and the one section on the far left were sewn to the lining.
The lining was sewn onto the flap area so it could be turned right-side out before connecting the front and back of the purse.


On the inside of the purse I made a piece of binding tape so that there were no unfinished edges. Note the diagonal seam on the corner, so that when turned right-side out the corner would not be bulky or weird looking.


